
For part 2 I’ve decided to simplify life for you. I’m going to talk about the “Butt Joint”. There are plenty of beekeepers who want to build their own hives with a minimalistic approach. The “Butt Joint” is where you simply butt two pieces of wood together then glue and screw. It’s simple and effective for our purposes. I have several hive bodies built this way with several years of service.
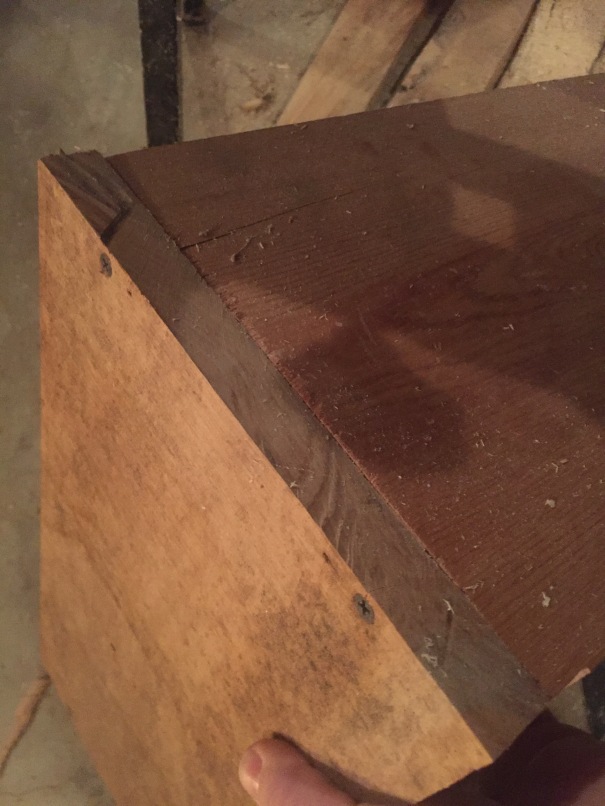
The best part about this joint is that it doesn’t require any special equipment. You can build your hives this way if all you have is a circular saw. Simply cut out your boards, glue, and screw and your done. I would not recommend using nails for this joint. Since there is no mechanical advantage in the wooden parts I feel you need the extra support that screws will provide.
You can use your imagination for how you would like to cut the boards for this joint. Hand saw, table saw with a crosscut sled, miter saw whatever you like or have on hand. The end result will be the same as long as your cuts are square and straight.
If you enjoyed reading this post please like, comment, and subscribe.
Thank you for reading.

Hi Brian,
Great post and a great joint.
The Butt joint is a great joint, fast and effective in many, many situations. It does not have much resistance to the joint being pulled off square, but this can be mitigated against by the use of corner supports, and if you unit has a bass or top board this is a non issue.
Glue and screw is a very good method for this joint, but can I say that you need to, ‘Bee’ careful that you do not split your wood.
There are a few refinements that can add to your success with this joint. Drilling a hole before you screw can prevent splitting your wood. This may take a little time, but often you end up saving: time, frustration and wasted wood.
Another thing to note is that the bit of the screw that really does the work in pulling this joint together is often in end grain. Screws do not work well in end grain so use a longer screw than you would use into side grain. This makes it even more important to pre-drill your screw holes.
If you want to be really picky about this joint, drill a pilot hole through both bits of wood, a hole a little smaller than your screw, then re-drill you bit of wood that you are going to screw right through with a clearance hole, one just big enough for the screw to pass through.
Also watch out for screwing to near the edge of each board this too can lead to splitting.
Who knows one day I may get some bees, I like the idea of having thousands of live stock, even if they are only very small.